- Home
- EnrolHQ Knowledgebase
- Custom Forms
- Creating custom forms
Creating custom forms
Updated: 1 year, 8 months ago
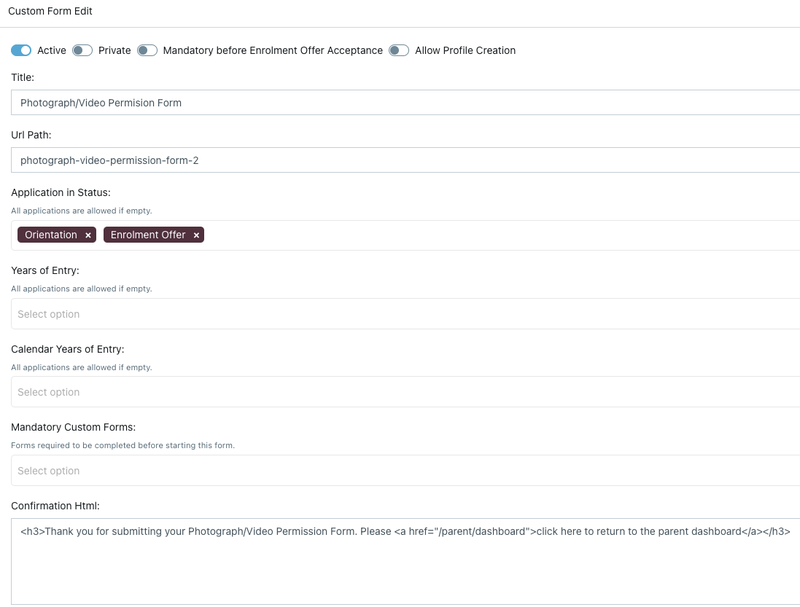
1 - Add the required information and set up the form by clicking on Custom forms > Create
- Title
- URL Path
- Application in status - select which Status the form is enabled to appear in Parent Dashboard
- Years of Entry - filter if the form should appear based on the student’s year of entry
- Calendar Years of Entry - filter if the form should appear based on calendar years
- Mandatory Custom forms - select if there are any mandatory forms that needs to be filled out before this custom form can be started
- Confirmation HTML - Input the text the parent see on Parent Dashboard when the form is submitted. Here is an example:
<p>Thanks for submitting the form. <a href="/parent/dashboard">Click here</a> to return to your parent dashboard.</p>
Create the custom form design and information
- Step - create the title
This is mandatory before the system allows you to choose the design options.
- Text Input - opens a text space with label

- Text Area - opens a text space without label

- Select - dropdown menu

- Radio Group - questions with one answer allowed

- Checkbox group - questions with multiple answers allowed

- HTML - Text only
- Include forms - select different options. For example parent signature or request documentation boxes

You can switch the location of the steps you add by dragging them up and down as you please.
2 - Create an email template with confirmation to the parent for the received form
Go to Email Settings > Email Templates > Custom > Add and choose Custom under Type
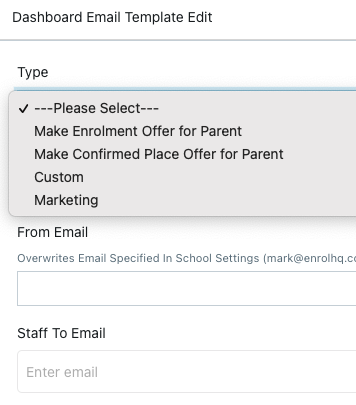
Input the email text you would like to send when a parent receives confirmation of submission.
3 - Create an automation setting that enables the system to send out the email template in step 2 automatically when a parent submits the custom form assigned to it.
Go to Email Settings > Automated Emails and click Create
- Name
- Exclude Applications in Status - filter based on status
- Parent template - if a parent should receive an email, select the email template from step 2
- Staff template - if the staff should receive an email, select the email template from step 2
- Trigger Events - select that submitting a custom form is the trigger event
- Custom form - select which custom form is the trigger event

A finished custom form will look like this


