- Home
- EnrolHQ Knowledgebase
- Enquiry and Event
- Manually adding a new enquiry
Manually adding a new enquiry
Updated: 3 months ago
Checking if there is an existing profile
Sometimes you will receive parent enquiries via your enrolments email or directly over the phone. To enter these directly into your EnrolHQ CRM to keep a record of the enquiry you need to find or create a student profile in EnrolHQ.
First, you want to make sure there is no existing record in the CRM. Go to Contacts > All Prospective and use the search bar to search for the student's name or parent's name.

If there is an existing record, click on edit to go into the student profile and find the enquiry tab where you can add an "Enquiry" to that student profile.
If there is no student profile in EnrolHQ, in the top right-hand corner, you will see an 'Add New Contact' button.
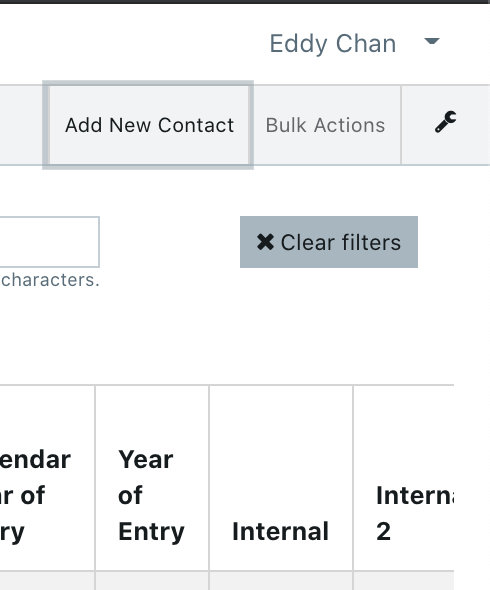
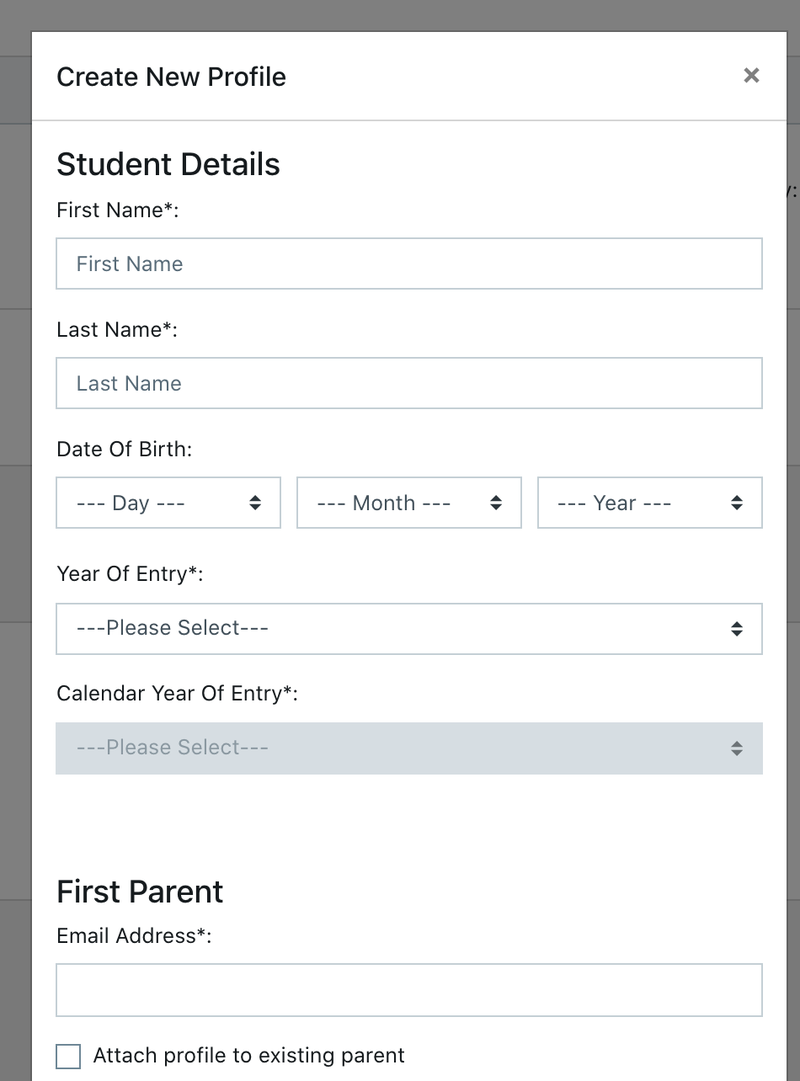
Click this to bring up the form for adding a new student. You will need to put in the student's name, DOB, desired year level of entry and the parent's details too. For a parent, we require at the minimum their title (e.g "Mr, Mrs"), name, email and phone number.
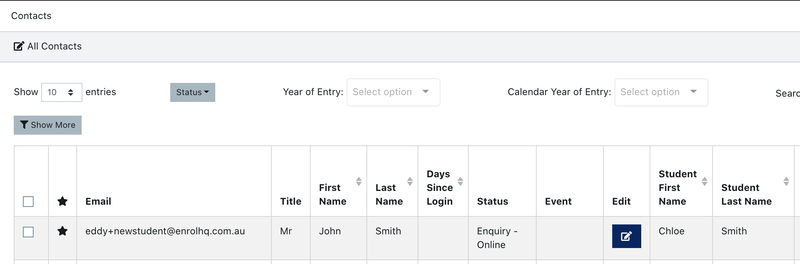
Once you've created the profile it will be sitting at the top of your CRM. You can click the Edit button to go into the detail view.
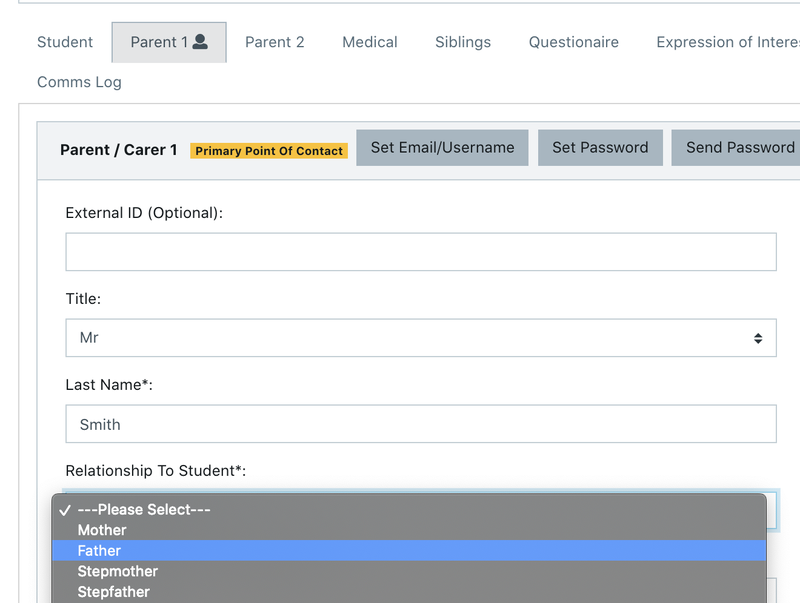
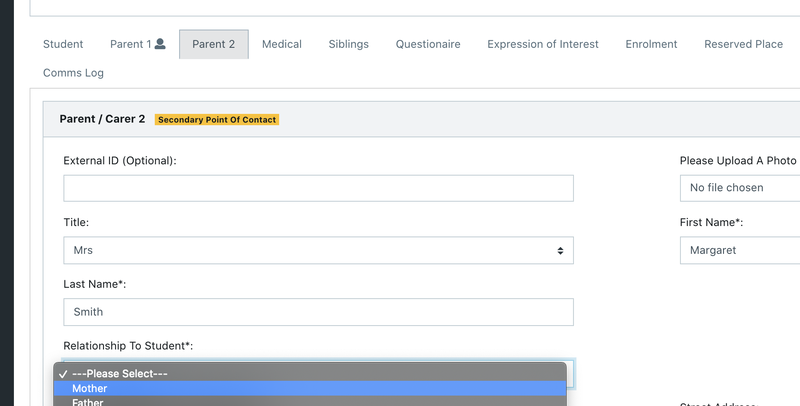
Inside the Detailed View, you may want to save the 'Relationship to Student' field under Parent 1's details.
You can also move over to the Parent 2 tab to put in some basic details for Parent 2 if you have them at hand.
Now that we've got the basic Student Profile all set up correctly with one or both parents in the CRM we can proceed to Adding the Enquiry.
Adding the Enquiry
Go to the Enquiry Tab and click the 'Add New Enquiry' button.

This will open a form where you can record the Parent's enquiry as if you were the Parent.

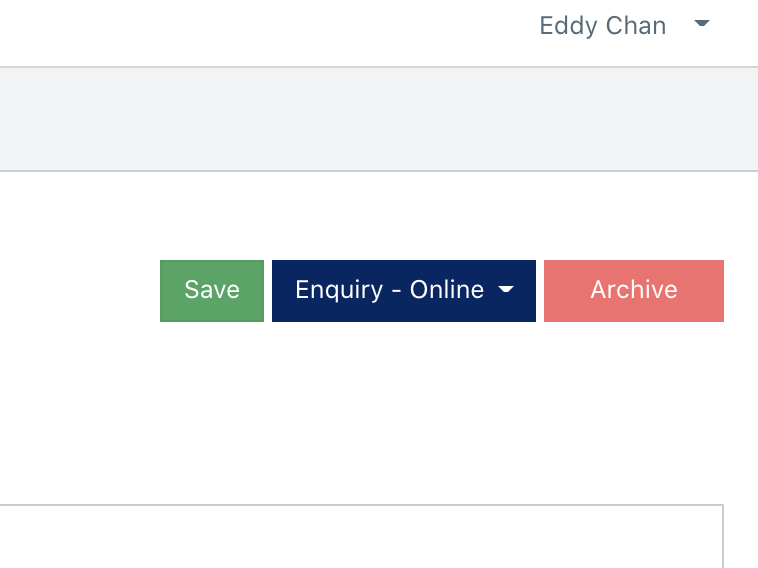
Don't forget to "Save" the record after this. There are Save buttons at the top and bottom of the page.
Marking the Enquiry as Responded
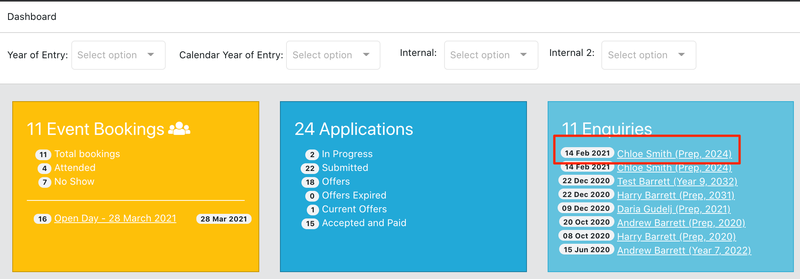
Now that you've entered the enquiry into the system, it will show up on your main dashboard. The dashboard shows you the number of enquiries you've received within a certain time period while the list of student profiles below shows you a list that you need to 'Respond To'.
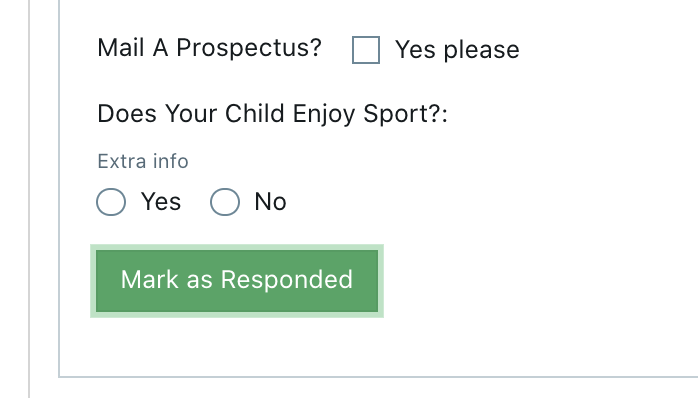
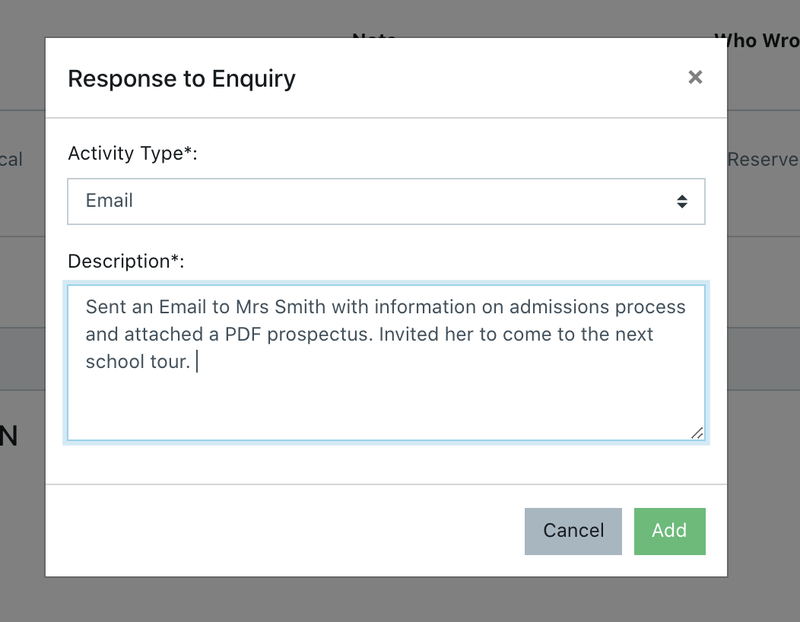
Click on your record again to go back to the detail view, then go to the 'Enquiry' tab. You'll notice there's a green 'Mark as Responded' button. This allows you to record that you've actioned the enquiry and record a short note in the Comms Log at the same time.
Once you click that button, a modal window will pop up to record the details of your response to the parent. Fill it in and click 'Add' - this will make an entry in the Comms Log and at the same time mark the enquiry as responded to so it will no longer show up on the list in your dashboard.
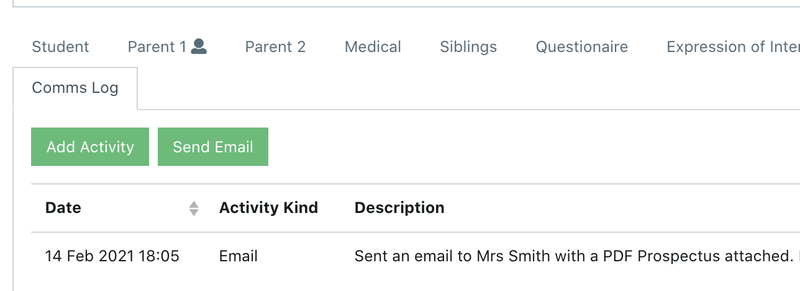
If you click over to the Comms Log you'll see your entry there.
At this point, you may want to tag the Student Profile with your internal categorisation. These are not shown to the parent and are used by the school to categorise and filter future students.
